
New Year, New You: Redesign your site like a SNO Pro!
New Year, New You (Part 2)
Last week, we shared some ideas for optimizing your story packaging. (Read the report or watch the webinar recording if you missed it.)
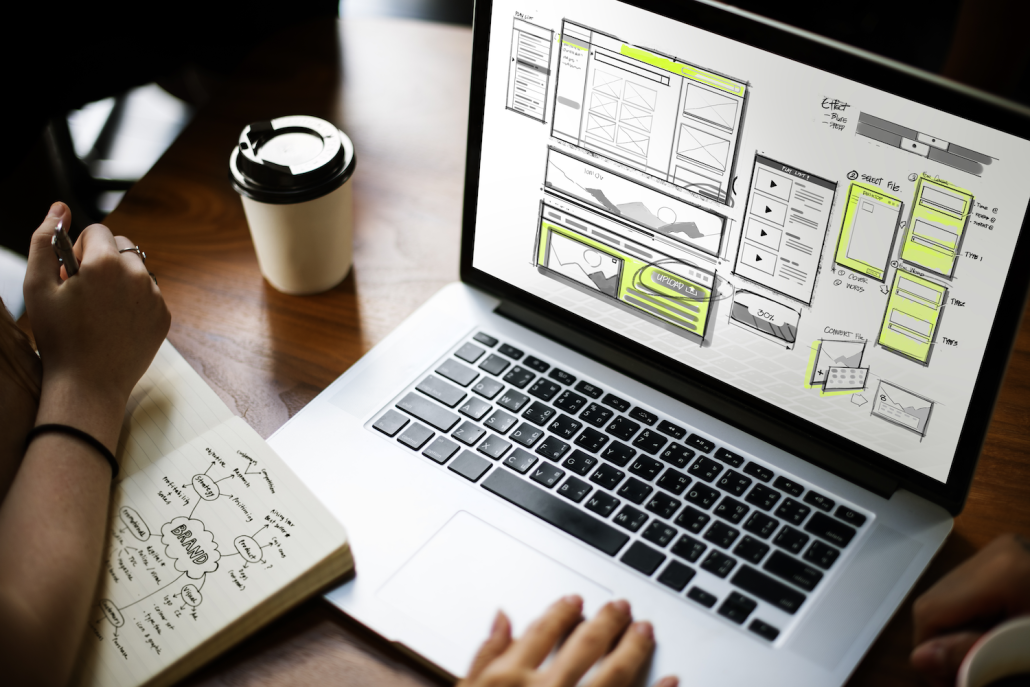
We’re back again this week to tackle one of our most frequently asked support questions: How can I redesign my website?
Design can feel pretty complicated. Even though there’s no “right” way to go about it, we’ve tried to simplify the process into 10 steps below. This sequence is the same one our SNO pros follow for site overhauls, and it’s perfect if you want to truly dive into design work.
Design Preparation
-
Create a Design Backup
Before you roll up your sleeves and get started, make sure to save a copy of your current design via a Design Backup. Think of it as your “insurance policy” in case something goes wrong with the redesign. -
Prepare Your Browser
When designing, we recommend having your site open in just two tabs – one for the dashboard and one for the homepage. This way, as you’re making updates in the dashboard tab, you can easily hop to the second tab and refresh to see those changes. We’re not judging if you’re a “50-tabs-at-all-times” person, but it can definitely complicate things. -
Choose a Redesign Format
You’ve got a few options here. If you want to work on design over time, we recommend using a Design Draft so that no one can see the work-in-progress (until its ready). Placing your site in Maintenance Mode, which will totally shield it from the public, is also an option. Otherwise, if you prefer, you can go ahead and just make design changes in realtime.
Design Work
-
Wipe the Widgets
You may find it easier to complete the rest of your design work if you remove all existing widgets from the homepage first. This will create a blank canvas for you to build on. Your Widget Control Panel features a Widget Storage area, so you can move existing widgets there if you think you might want to use them again. -
Tackle the Header (and Footer)
The header is the first thing people see at the top of your site, so it sets the vibe for their entire experience. Use the Site Designer tools to customize it. And while you’re at it, take a peek at your footer and make any adjustments there to match. Think of the header and footer as the “bookends” on your site. -
Build Homepage Widget Areas
Again using the Site Designer tools, configure your Homepage Widget Areas to determine the layout for the rest of your homepage. Do you want full-width areas? Two columns? Three? A combination? It’s all up to you! -
Add Widgets
Once your widget areas are established, use the Widget Control Panel to start adding widgets. We’d start with adding SNO Story widgets for your main content (think News, Sports, Features, etc.). Then, you can sprinkle in some “extras” (e.g., SNO Polls, social media embeds, advertisements, etc.). Widgets can feel a bit overwhelming at first, but you’ll get the hang of it with some practice! -
Adjust the Details
Finally, adjust any little details you want to change. Most of these are located back in your site’s Design Options page. There’s a lot to explore, but Widget Styles and Fonts are two great areas to start.
Post-Design
-
Save Another Design Backup
Did you already do this step? Technically, yes. But we’d recommend saving another Design Backup after completing your redesign.**If using a Design Draft, you will complete this after step 10 (see below).
-
Share With the World
It’s time! If you used a Design Draft, you’ll simply click on the “Push Live” button to send your design changes live. If you placed your site in Maintenance Mode, you’ll want to de-activate it now. If you redesigned live, no further action is necessary. No matter which method you chose, make sure to give yourself a huge pat on the back – you deserve it!